What is Retention Shooting?
It can be defined in a few ways, but we’ll use an example to describe it for this article. If you are in a close-quarters combat situation holding out the gun as usual, and the threat could grab the gun, then you need to be shooting from retention. In retention shooting, the goal is to hold the gun close to you, away from the bad guy. In a self-defense situation, obviously, we need to keep the firearm in our hands and away from the threat, so instead of pointing the gun out in a traditional way, we will use one hand and have the firearm tucked close to our side.
Why Practice With One Hand?
You probably noticed we mentioned using one hand, and here is why we practice that way because you might be wrestling with the threat, or they could be striking you. In that event, you would need your support hand to protect yourself. So that’s why most people practice shooting from retention with one hand only.
One-hand shooting introduces its own problems, including accuracy and recoil management. Your accuracy will also be affected because you can’t raise the sights to eye level either. Here is the way to shoot accurately with the gun lower and with one hand. With your pistol drawn, keep your arm tucked tight against your side, keep your grip on the gun but have your thumb straight. Then take the flat part of your hand created by your thumb and hold it against your side; if you keep your elbow straight back, this will help you keep your muzzle pointed straight out.
Keeping Control of Your Firearm
When it comes to managing recoil, holding your gun like this will actually help. Having your gun held tight to your side will give you another point of contact since you can’t have your support hand. Just remember to keep the slide of the gun slightly pointed out so that the slide can cycle; otherwise, you will create a stoppage. Then you’d have to try to manually clear the spent brass one-handed while in a fight.
The most common type of stoppage that could happen is when the gun is incorrectly placed in front of your body and that does not allow enough room for the slide to cycle. If the gun is in front of you, it’s possible your torso would be so close the slide could not eject the empty and pick up a new round during recoil. This is why we teach to have the handgun firmly tucked to your side.
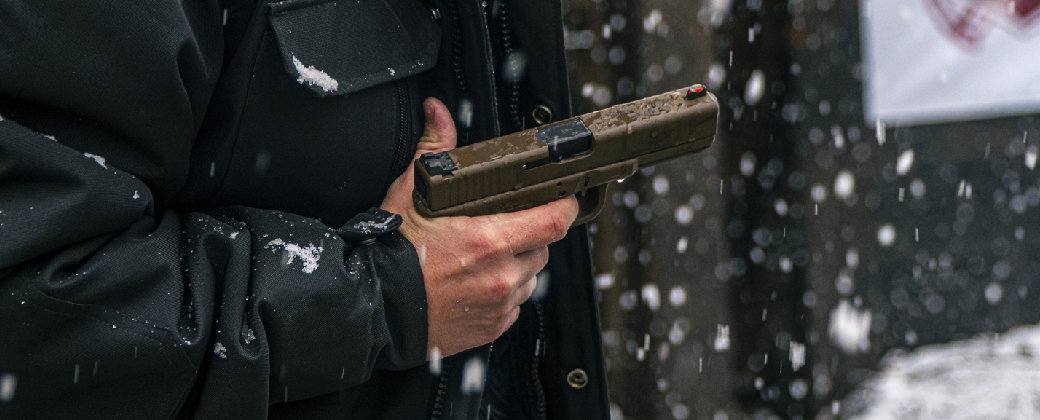
If you would have to manually charge the slide one-handed, a red dot optic on your handgun could be a big advantage. The face of the optics is a big surface area that can be used for charging the gun. If you are in a wrestling match, you could even strike the optic off the side of the threats face if you can get enough momentum. This could damage your optic, but when it’s a life and death situation, who really cares about the optic?
Since most concealed carry gunfights happen within 7 yards, make sure you practice drawing and firing from a retention position. Ammo is in short supply now, so even if it has to be dry fire only training, it would still be training time well spent.
DISCLAIMER: This content is for general educational and informational purposes only. Readers and viewers are responsible for knowing and understanding all appropriate local, national and international laws relating to self-defense, reasonable force, and the use of any and all weaponry, acting in accordance with all applicable laws, at all times. Neither Gunspot or Tulster assume any responsibility for the use or misuse of information or instruction. We encourage all firearm owners to seek out professional in-person instruction. No video or blog replaces in-person training with qualified professionals to ensure you learn and train safely